


Do you need to create a customized web page in WordPress?
A customized web page helps you to use a completely different structure from the remainder of your web site. Many WordPress websites use customized web page layouts for his or her gross sales pages, touchdown pages, webinar pages, and extra.
In this text, we are going to present you the way to simply create a customized web page in WordPress.
Why Create a Custom Page in WordPress?
Every time you create a new web page, your WordPress theme controls how that web page appears to be like utilizing a template file.
This web page.php template impacts all single pages that you simply create in WordPress. However, you might not need to use the identical design each single time.
Landing pages usually have completely different content material in contrast to common pages, similar to a massive hero picture or a call to action (CTA). This means they usually look fully completely different from the remainder of your web site.
Trying to create distinctive designs utilizing the usual web page template can take a lot of time.
You’re additionally restricted by the template, and will not be in a position to obtain the precise design you need. This could make it tough to get good outcomes. For instance, for those who’re constructing a sales page then you might not get many conversions.
With that being stated, let’s see how one can create a customized web page in WordPress, with the precise design, structure, and content material you need. Simply use the short hyperlinks under to soar straight to the strategy you need to use.
Method 1. How to Create a Custom Page in WordPress Using the Block Editor (No Plugin Required)
The block editor makes it straightforward to design your individual templates utilizing the instruments you’re already conversant in.
However, this technique solely works with block-enabled themes. If this technique doesn’t work together with your theme, then we suggest utilizing a web page builder as a substitute.
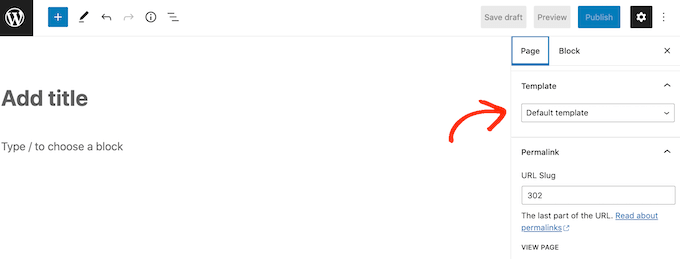
To begin, merely open any web page or submit. Then, click on on the ‘Page’ tab in the right-hand menu and click on to increase the ‘Template’ part.
Go forward and create a customized template by clicking on the ‘New’ hyperlink.

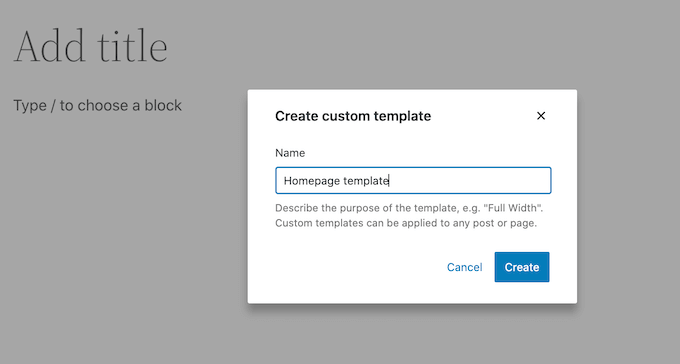
In the popup that seems, sort in a title to your template after which click on on ‘Create.’
The title is simply to your reference so you should use something you need.
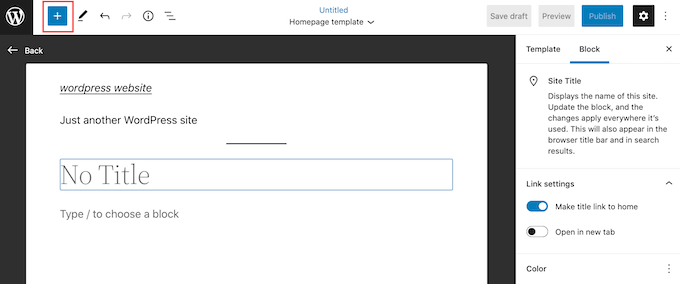
This launches the template editor, which works equally to the standard block editor.
To add blocks to your customized web page design, merely click on on the blue ‘+’ button. You can then drag and drop to add blocks.
You can add content material to a block or change its formatting utilizing the acquainted WordPress submit modifying instruments. For instance, you’ll be able to sort textual content into a ‘Heading’ block and apply daring formatting or change it from H2 to H3.
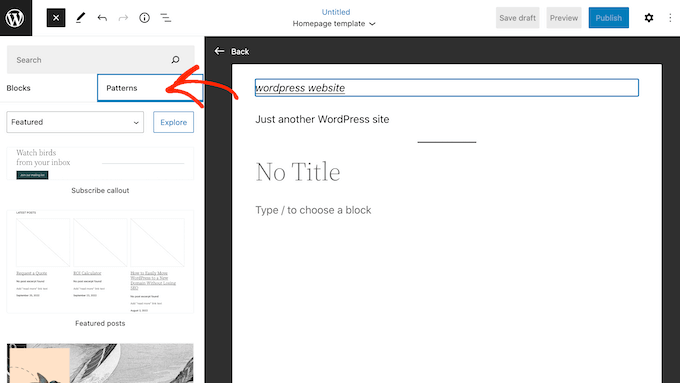
You can even create a customized web page utilizing patterns. Patterns are collections of blocks which might be usually used collectively, similar to a listing of occasions, an image with a caption, or a pricing table.
The patterns you see will fluctuate relying in your WordPress theme, however you’ll be able to see which patterns can be found by clicking on the ‘Patterns’ tab.
You can both drag and drop a block pattern onto your structure or click on on the sample to add it to the underside of your template. When you’re pleased with how the template appears to be like, click on on the ‘Publish’ button after which click on on ‘Save.’
You can now apply this template to any web page. Opening that web page in the editor, after which in the right-hand menu open the ‘Template’ dropdown and select the customized template you simply created.
You can now add content material to the web page identical to every other WordPress web page, to create a fully customized web page in WordPress. When you save the web page, you’ll be able to go to your website to see the brand new template in motion.
Method 2. How to Create a Custom Page in WordPress utilizing SeedProd (Recommended)
In the previous, you created a customized web page by writing code, which wasn’t very beginner-friendly. If you made a mistake together with your HTML, CSS, or PHP code then it would even trigger common WordPress errors or fully break your website.
With that in thoughts, we suggest utilizing a web page builder as a substitute.
SeedProd is one of the best drag-and-drop page builder for WordPress. It comes with greater than 180 templates that enable you to create customized pages with out writing any code.
If you’re utilizing a customized web page to get extra conversions, then SeedProd works with many fashionable third-party instruments you might already be utilizing to handle conversions. This consists of prime electronic mail advertising and marketing providers, WooCommerce, Google Analytics, and extra.
First, you want to set up and activate SeedProd. For extra particulars, see our step-by-step information on how to install a WordPress plugin.
Note: There’s additionally a free version of SeedProd that enables you to create customized pages for those who’re on a tight finances and simply getting began. However, for this information, we’ll be utilizing SeedProd Pro because it has tons extra templates and integrates with all the best email marketing services.
After activating the plugin, SeedProd will ask to your license key.
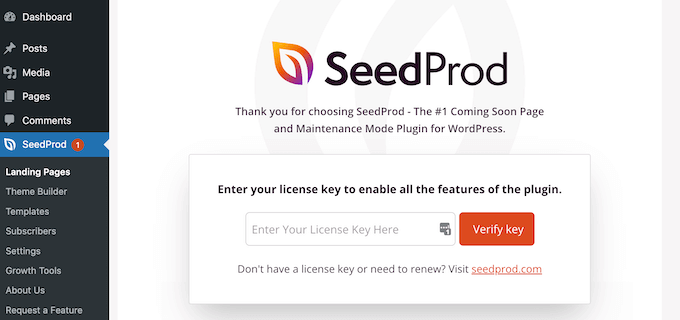
You can discover this info beneath your account on the SeedProd website. After getting into the important thing, click on on the ‘Verify Key’ button.
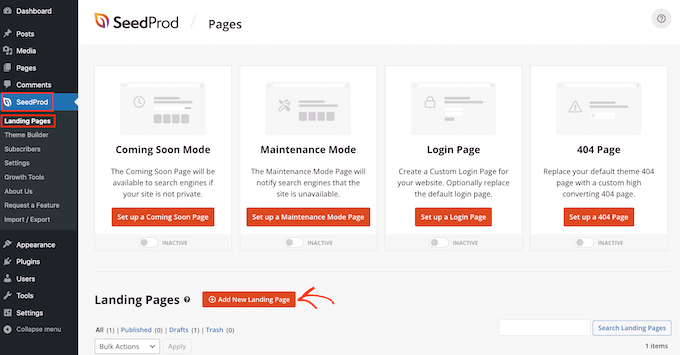
Once you’ve accomplished that, go to SeedProd » Landing Pages and click on on the ‘Add New Landing Page’ button.
You can now select a template to your customized web page.
SeedProd’s templates are organized into completely different marketing campaign sorts similar to ‘lead,’ ‘squeeze,’ and ‘coming soon.’ You can click on on the tabs on the prime of the display to filter templates primarily based on marketing campaign sort.
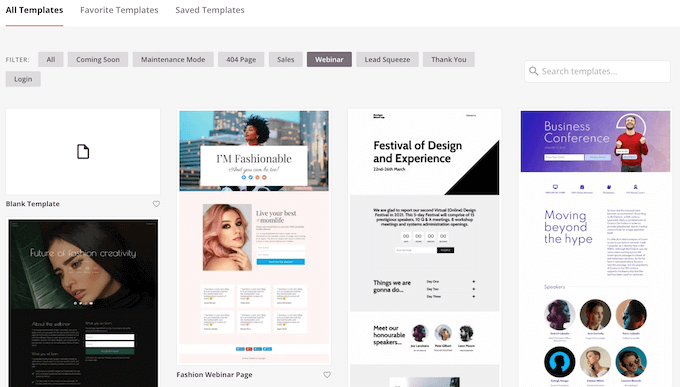
If you need to begin from scratch, then SeedProd additionally has a clean template that you should use.
To take a nearer have a look at any design, merely hover your mouse over that template after which click on on the magnifying glass icon.
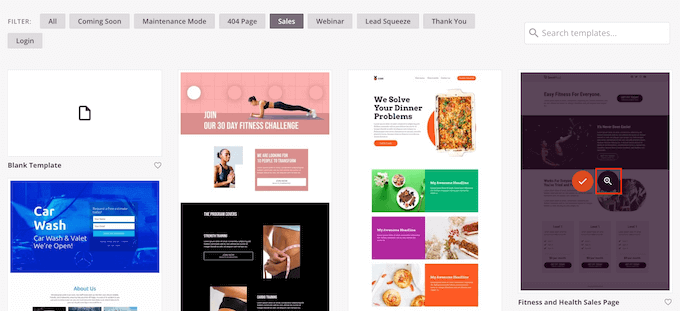
When you discover a design that you simply like, click on on ‘Choose This Template.’ We’re utilizing the ‘Course Sales Page’ template in all our photos, however you should use any template you need.
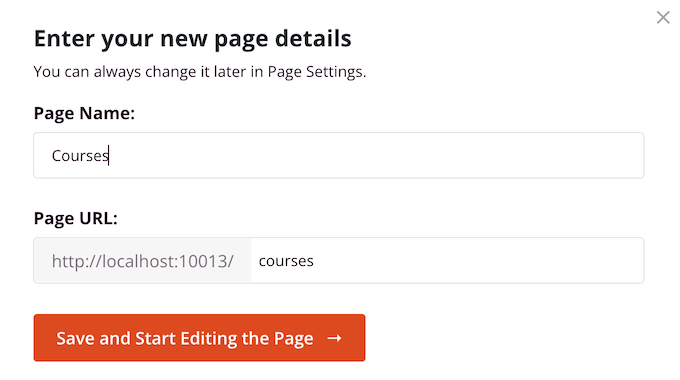
Next, go forward and sort in a title for the customized web page. SeedProd will routinely create a URL primarily based on the web page’s title, however you’ll be able to change this URL to something you need.
A descriptive URL will assist serps perceive what the web page is about, to allow them to present it to the appropriate customers.
When you’re pleased with the data you’ve entered, click on on the ‘Save and Start Editing the Page’ button.
To give your customized web page one of the best likelihood of showing in related search outcomes, it’s your decision to add any key phrases which might be lacking from the URL. For extra particulars, please see our information on how to do keyword research.
This will load the SeedProd web page builder interface. It is a easy drag-and-drop builder and exhibits a stay preview of your web page to the appropriate. You can even see block settings on the left.

To customise a block, merely click on to choose it in the web page editor. The left-hand toolbar will then present all of the settings for that block.
For instance, right here we’re altering the textual content inside a ‘Headline’ block.
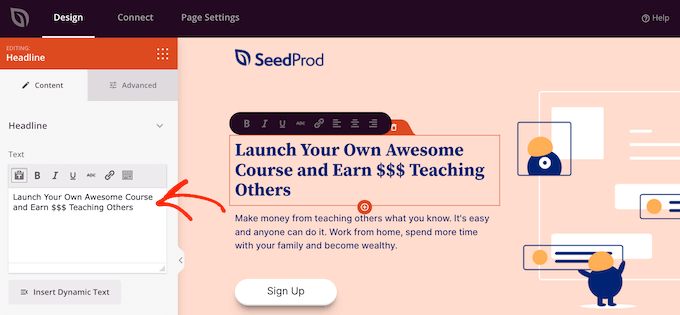
You can format the textual content, change its alignment, add links, and extra utilizing the settings in the left-hand menu.
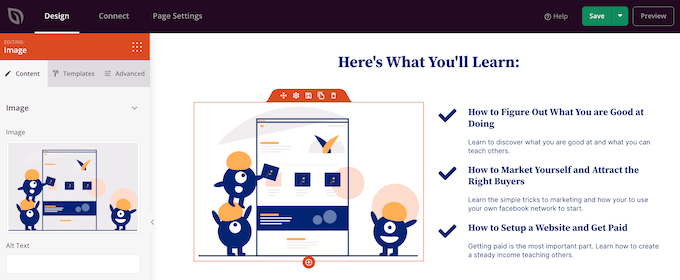
It’s additionally straightforward to edit photos utilizing the SeedProd web page builder. Simply click on on any ‘Image’ block and use the settings to add alt text, add a new picture, or make every other modifications.
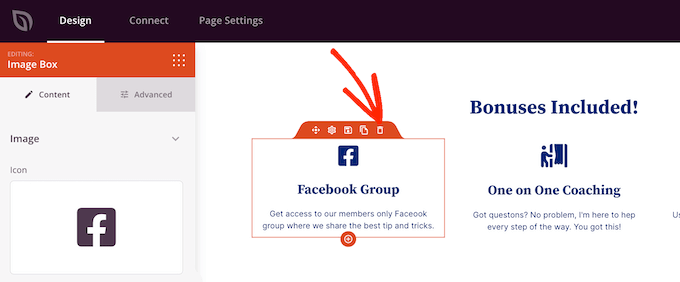
If you need to take away a block out of your customized web page, then merely click on to choose that block.
Then, you’ll be able to click on on the trash can icon in the mini toolbar.
To add new blocks to your design, simply discover a block in the left-hand menu after which drag it onto the editor.
You can then click on to choose the block and make any modifications in the left-hand menu.

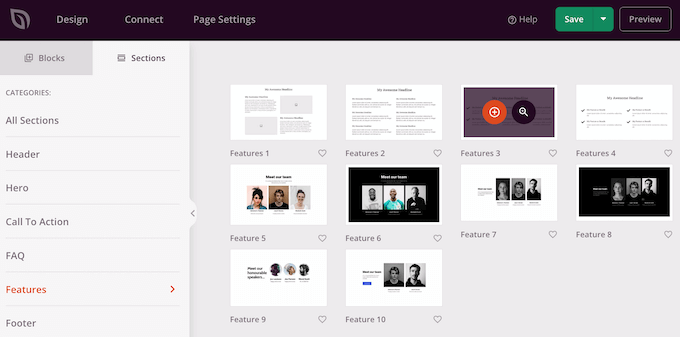
SeedProd additionally comes with ‘Sections,’ that are rows and block templates that may show you how to create a customized web page, quick. For instance, for those who had been designing a Google Ad landing page, then you definitely would possibly use SeedProd’s ready-made Hero, Call To Action, or Features sections.
To see all the obtainable sections, merely click on on the ‘Sections’ tab.
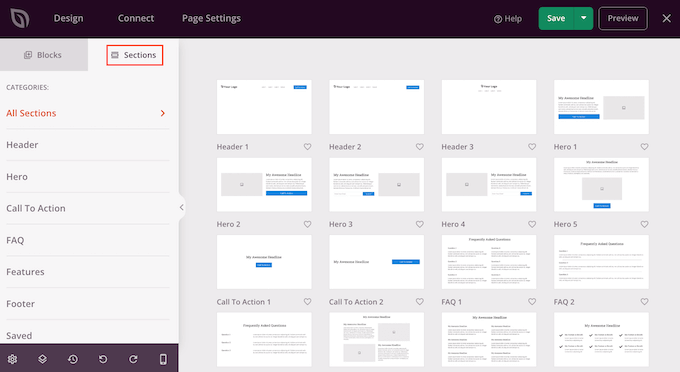
To take a nearer have a look at a part, hover your mouse over it after which click on on the magnifying glass icon.
When you discover a part that you really want to add to your design, merely transfer the mouse over it after which click on on the little ‘+’ icon.
This provides the part to the underside of your web page. You can transfer each sections and blocks round your design utilizing drag and drop.
If you make a mistake or change your thoughts, then don’t fear. You can reverse your final change by clicking on the ‘Undo’ button on the backside of the left-hand toolbar.
Here, you’ll additionally discover a redo button, revision historical past, structure navigation, and international settings.
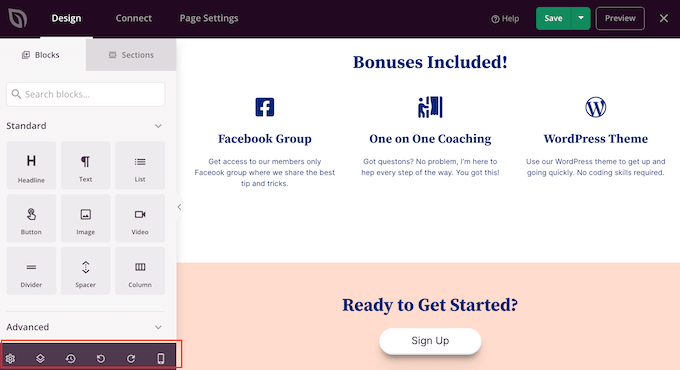
These additional buttons make it straightforward to create a customized web page in WordPress.
At the underside of the toolbar, you’ll additionally discover a cellular preview button that enables you to view the mobile version of the customized web page.
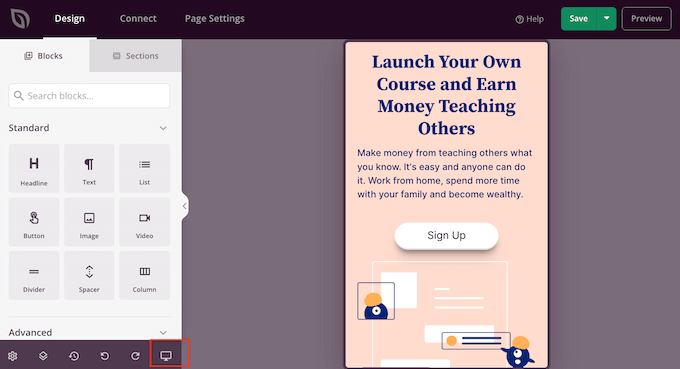
This might help you design a customized web page that appears simply nearly as good on cellular gadgets because it does in your pc.
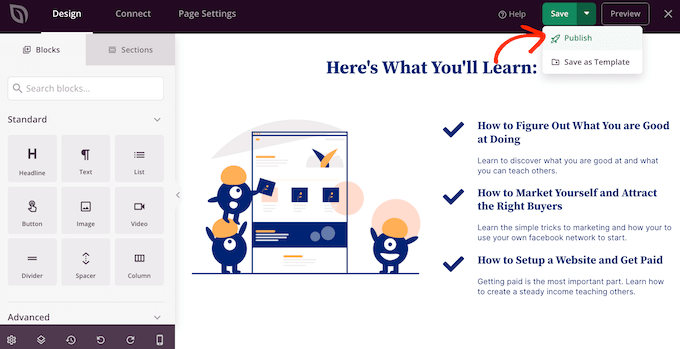
When you’re pleased with the customized web page, it’s time to publish it by clicking the dropdown arrow subsequent to ‘Save’ after which choose the ‘Publish’ choice.
Your customized web page will now go stay in your WordPress blog.
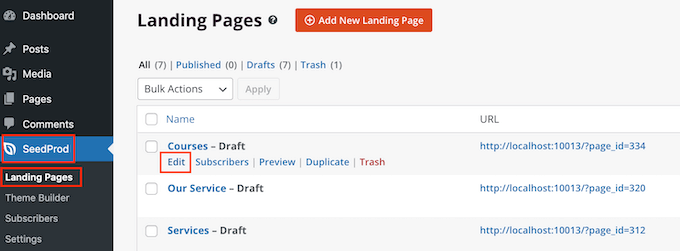
If you need to edit the customized web page at any level, then simply go to SeedProd » Landing Pages in your WordPress dashboard. You can then discover the web page that you really want to change and click on on its ‘Edit’ hyperlink.
This will open the design in SeedProd’s editor, prepared for you to make your modifications.
Method 3. Using Beaver Builder to Create a Custom Page in WordPress
You can even create a customized web page utilizing Beaver Builder. We suggest utilizing the skilled model, however there’s additionally a free version of Beaver Builder that has restricted options.
First, you want to set up and activate the plugin. For extra particulars, see our step-by-step information on how to install a WordPress plugin.
Upon activation, go to Settings » Beaver Builder. Then, click on on the ‘License’ tab.
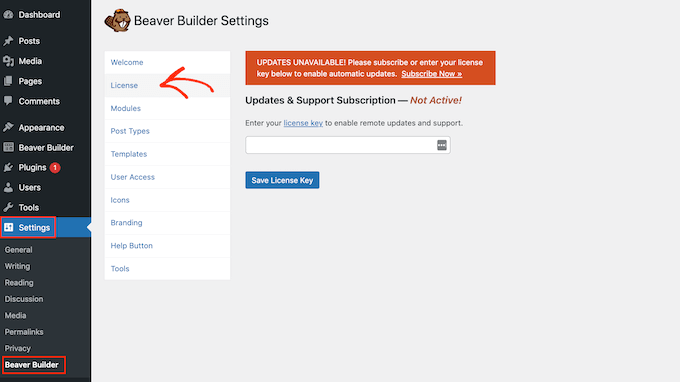
Here, merely enter the license key, which you’ll discover in your account on the Beaver Builder web site. You can then go forward and click on on ‘Save License Key.’
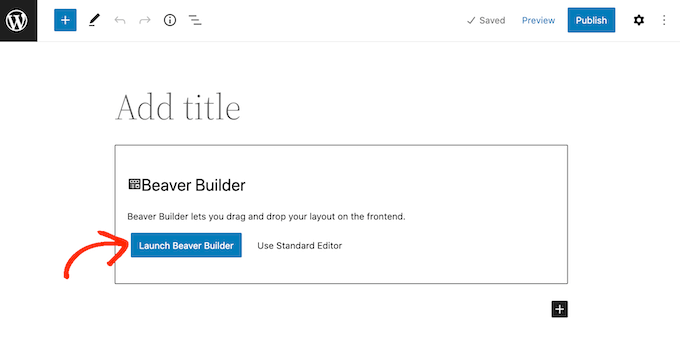
To create a customized web page, merely head to Pages » Add New in your WordPress admin dashboard. Then, click on the ‘Launch Beaver Builder’ button.
This will open the Beaver Builder editor.
If the right-hand menu doesn’t open routinely, then click on on the ‘+’ in the top-right nook to open it.
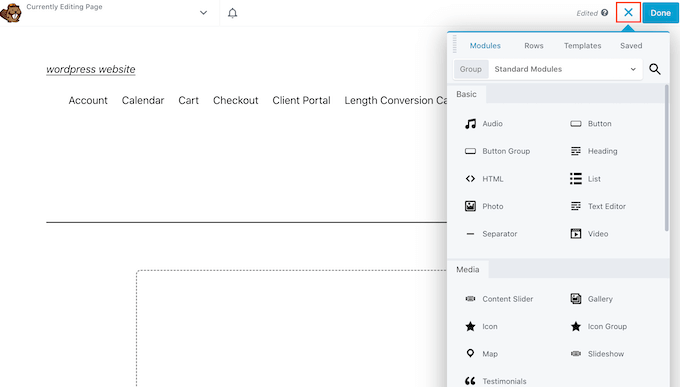
This menu has all of the completely different modules and rows that you would be able to add to your customized web page. Similar to SeedProd’s blocks, these are the core components of any Beaver Builder web page.
When you discover a block or module that you really want to use, drag and drop it onto the web page editor.
Another choice is to begin with a template. To see all of the completely different Beaver Builder designs, simply click on on the ‘Templates’ tab.
You can then click on on any template to add it to the web page.

To edit any a part of a template, merely click on on it. For instance, you’ll be able to change the textual content, photos, colours, and extra.
In the next picture, we’re modifying the web page heading. Beaver Builder’s modifying course of isn’t fairly so easy as SeedProd’s, so that you’ll want to make your modifications in the separate popup field that seems.
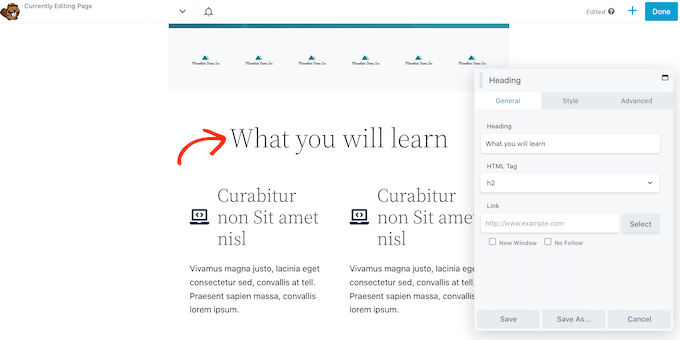
When you’re pleased with how the customized web page appears to be like, click on on the ‘Done’ button.
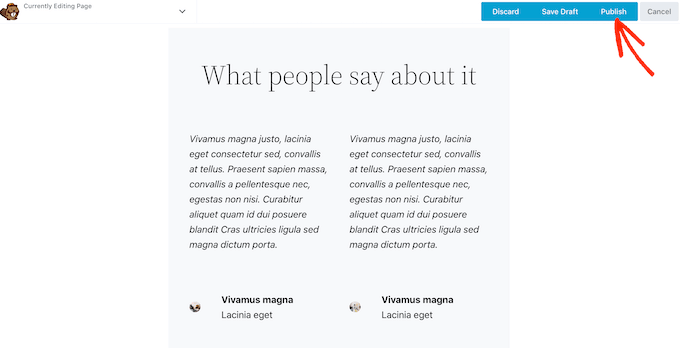
You can then save the submit as a draft, or publish it so it exhibits up in your WordPress website.
Method 4. Creating a Custom Page Template Manually
You can even create a customized web page template manually in WordPress. Similar to the web page.php file, this template permits you to management how the web page appears to be like.
This technique does require you to write some code, so it’s not probably the most newbie pleasant choice. However, it does enable you to create a customized web page with out having to set up a new plugin.
If you solely need to create a small variety of customized pages, then you might want to write code somewhat than arrange a web page builder plugin.
To begin, open a plain textual content editor like Notepad in your pc. In the clean file, add this line of code on the prime:
<?php /* Template Name: CustomPageT1 */ ?>
This code merely tells WordPress that that is a template file referred to as ‘CustomPageT1.’ You can title the template something you need.
Now, add all of the code for the customized web page structure. This template is precisely the identical as every other theme file in WordPress so you’ll be able to add HTML, template tags, and PHP code.
To show you how to code the template file, it’s your decision to copy the prevailing web page.php template supplied by your theme. This can prevent time and helps the customized web page mix in with the remainder of your WordPress web site.
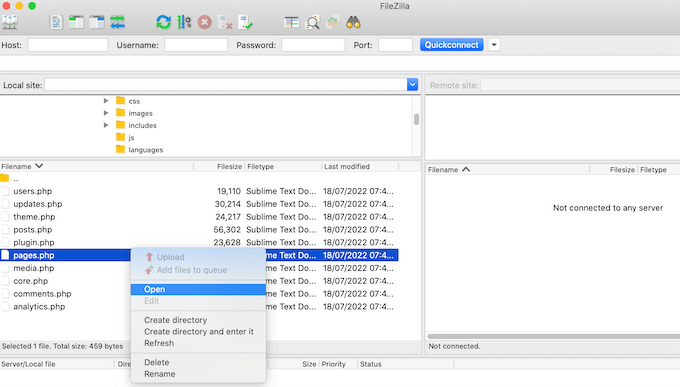
The easiest method to copy the web page.php code, is by connecting to your server utilizing an FTP client similar to FileZilla, or you should use the file supervisor of your WordPress hosting platform similar to cPanel or SiteGround‘s Site Tools.
If that is your first time utilizing FTP, then you’ll be able to see our full information on how to connect to your site using FTP.
Once you’re related, go to /wp-content/themes/ and open the folder to your present theme. Inside this folder, discover the web page.php file and open it in any textual content editor.
You can use this code as the idea of your customized template, and might even paste the code into your new template file.
If you do paste the code, then don’t copy the web page.php header textual content, which is the half that’s commented out on the prime of the file.
You can create any structure you need, however right here’s an instance of a easy customized web page structure that we’re going to use on our website:
<?php /* Template Name: CustomPageT1 */ ?>

<?php get_header(); ?>

<div id="primary" class="content-area">
    <most important id="main" class="site-main" function="main">
        <?php
        // Start the loop.
        whereas ( have_posts() ) : the_post();

            // Include the web page content material template.
            get_template_part( 'template-parts/content material', 'web page' );

            // If feedback are open or we now have a minimum of one remark, load up the remark template.
            if ( comments_open() || get_comments_number() ) {
                comments_template();
            }

            // End of the loop.
        endwhile;
        ?>

    </most important><!-- .site-main -->

    <?php get_sidebar( 'content-bottom' ); ?>

</div><!-- .content-area -->

<?php get_sidebar(); ?>
<?php get_footer(); ?>
You can now save the file. You can use any title you need, however be sure you finish the file with the .php extension.
Although you’ll be able to add this file to any WordPress theme, it’s a good thought to create a child theme primarily based in your present theme. In this fashion, you’ll be able to update your WordPress theme without losing customization.
In your FTP consumer or file supervisor, merely add the customized template to your present theme’s listing. Once you’ve accomplished that, it’s time to create a new web page in the WordPress dashboard or open any web page the place you need to use the template.
In the right-hand menu, click on on the ‘Page’ tab after which click on to increase the ‘Templates’ part, if it isn’t already expanded.
You can then open the dropdown menu and choose the template you created.
To add precise content material to your customized web page, merely edit the web page as regular. When you’re pleased with how every thing appears to be like, you’ll be able to both click on ‘Update’ or ‘Publish’ to push it stay to your website.
We hope this text helped you learn the way to create a customized web page in WordPress. You can even undergo our information on the must have WordPress plugins for your website and how to increase your blog traffic.
If you preferred this text, then please subscribe to our YouTube Channel for WordPress video tutorials. You can even discover us on Twitter and Facebook.
The submit How to Create a Custom Page in WordPress first appeared on WPBeginner.
: A Guide to Each Model")
")


